
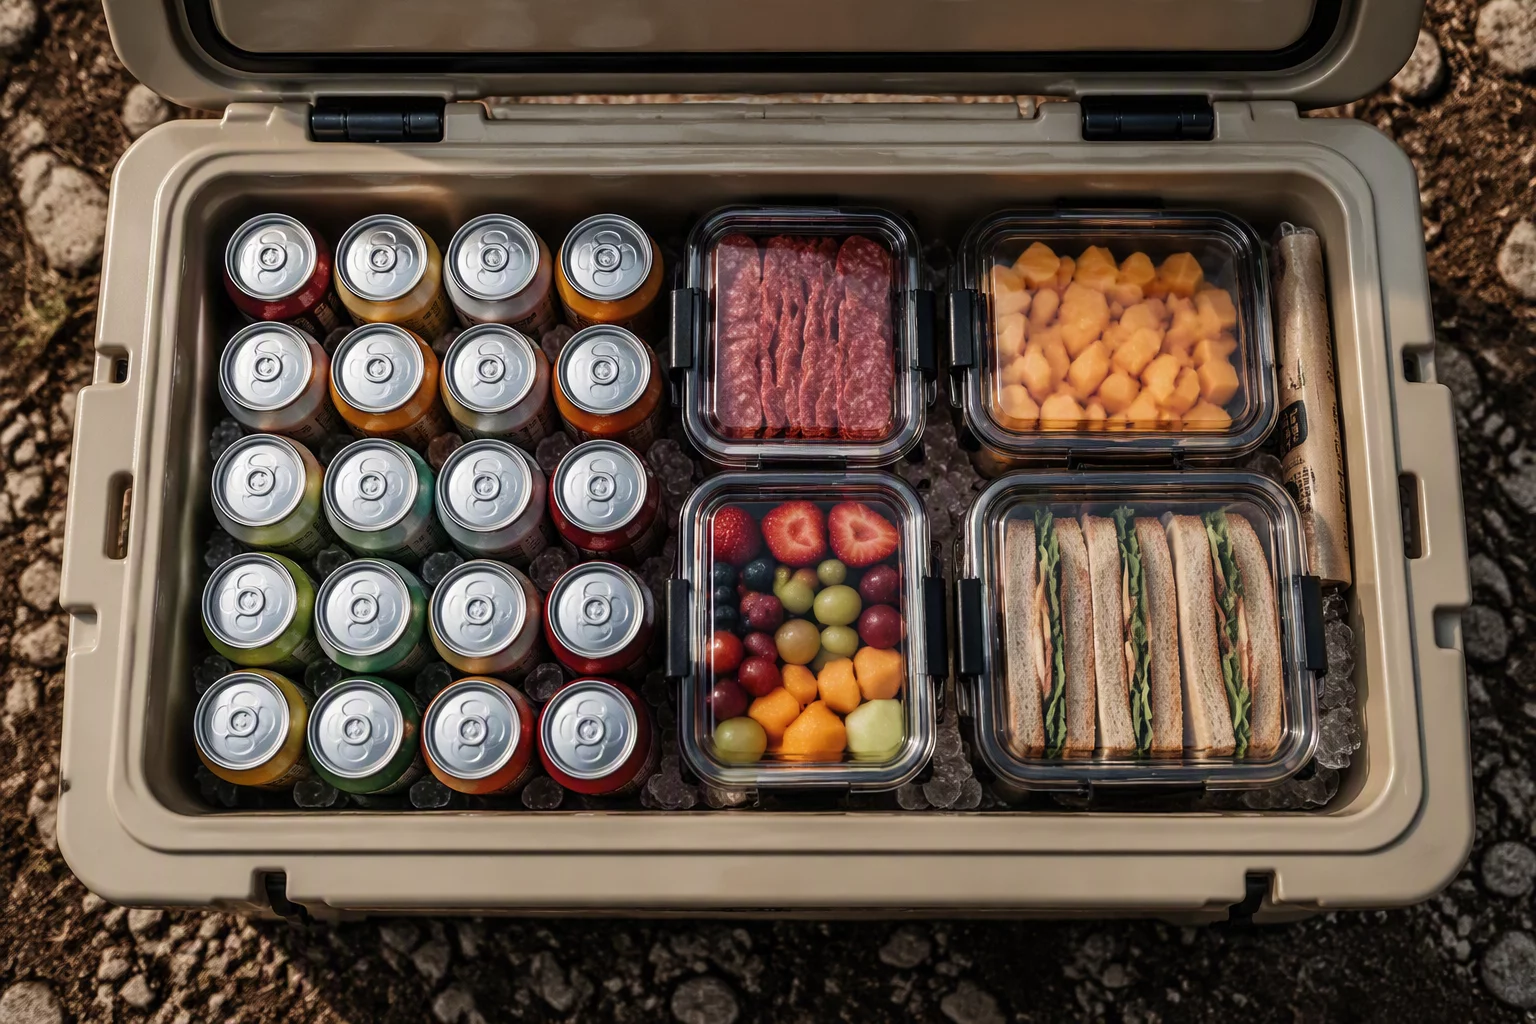
Essential Techniques for Long-Lasting Cold Retention
Packing a cooler properly makes the difference between crisp produce and a waterlogged disaster on day three. With the right layering system, food stays safely chilled below 4°C throughout your entire stay in the backcountry.
When venturing into remote wilderness or heading out for a seaside holiday, proper cooler preparation separates melted slush from solid, sub-zero freshness. By mastering thermal prep, sensible layering, and proper storage protocols, you can maximize ice retention for multiple days without replenishment.
Key Preparation Steps
- Pre-chill your cooler: Place sacrificial ice bags inside 4-6 hours prior to departure to bring inner wall temperatures down.
- Utilize the 2:1 ratio: Maintain two parts ice to every one part food and beverage volume for maximum thermal performance.
- Minimize air space: Fill empty gaps with reusable cold blocks, rolled towels, or insulating bubble foam.
Pro Expedition Tip
Never drain melted water during mid-trip unless replacing with fresh ice. Cold water insulates remaining ice cubes far better than warm ambient air pockets.
Community Discussions
2 CommentsCamperDan
Verified ExplorerGreat tips, especially the layering method!
I tested the bottom block ice method alongside the cold cans layer on a three-day weekend in Algonquin. Kept everything chilled perfectly until the last day.
Bloom Support Team
StaffThanks Dan! Glad the layering technique helped out. Freezing water jugs as sacrificial blocks also works wonders.